
Filament Introduction & Usage
Source: X2D 3D Printing User Manual · v1.0 · 2026.05 · p. 104–117
Different 3D printing filaments have their own physical properties and applications. Choosing the right filament based on your printing needs helps improve print quality and model performance.
8.1 Common Filament Types
Below is a brief introduction to several common filaments. For detailed features and specifications, see the Bambu Lab Filament Guide.
Basic Filaments
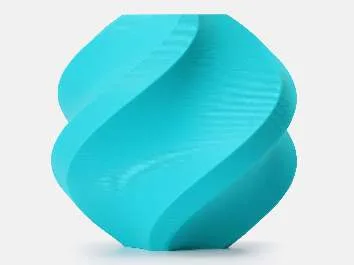
PLA
- The most common entry-level 3D printing filament. It is eco-friendly, non-toxic, biodegradable, and easy to print, but has limited mechanical performance.
- Suitable for everyday prototyping, home printing, and low-load applications.
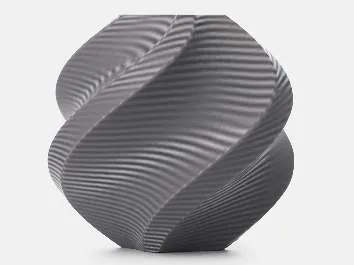
PETG
- Offers good mechanical performance, with water, heat, and chemical resistance. However, it must be kept dry, and its smooth surface can show scratches easily.
- Suitable for containers, durable parts, and functional parts.
Aesthetic Filaments
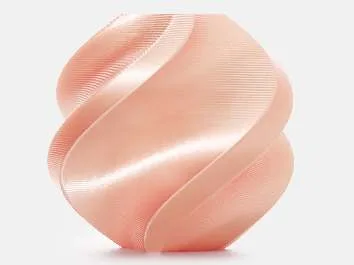
PLA Silk / Silk+
- Has a silky texture and high gloss. However, it must be kept dry, as moisture can easily cause stringing.
- Suitable for models that require a silky texture or metallic sheen.
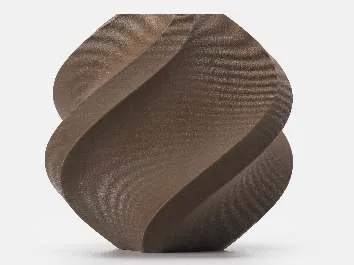
PLA Wood
- Contains natural wood particle additives for a matte, solid-wood-like texture. However, it must be kept dry, as moisture can easily cause discoloration.
- Suitable for natural or forest-style models. The matte texture also helps hide layer lines.
Engineering Filaments
ABS
- Offers good mechanical performance and high durability, but is prone to warping.
- Suitable for mechanical housings and functional parts.
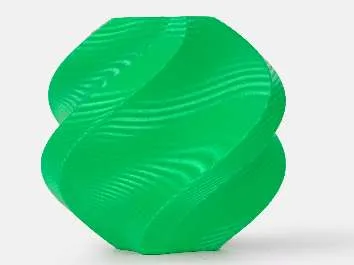
ASA
- Similar to ABS but with superior UV resistance.
- Suitable for outdoor parts and automotive components.
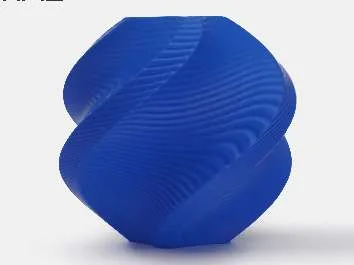
PC
- Offers good heat resistance, strength, and rigidity, but is prone to warping and moisture absorption.
- Suitable for high-strength structural parts, high-temperature applications, and mechanical components.
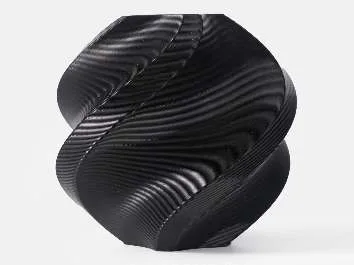
Flexible Filaments
TPU
- Highly elastic and wear-resistant, but relatively slow to print.
- Suitable for flexible models, such as shoe sole prototypes, seals, and cushioning pads.
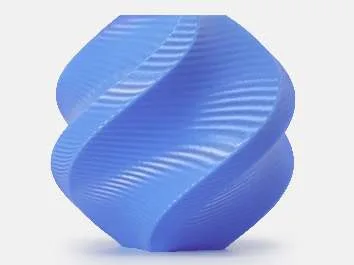
Fiber-Reinforced Filaments
Carbon Fiber Reinforced (-CF)
- Carbon fiber is added to filaments such as PLA or PETG to significantly improve rigidity and strength while keeping the material lightweight.
- Suitable for load-bearing structural parts and lightweight structural designs.
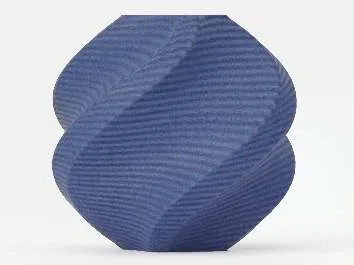
Glass Fiber Reinforced (-GF)
- Glass fiber is added to filaments such as ABS to improve toughness and wear resistance.
- Suitable for industrial mechanical parts and structural frame components.
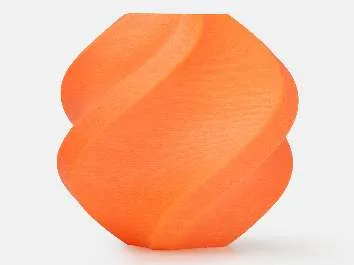
Support Filaments
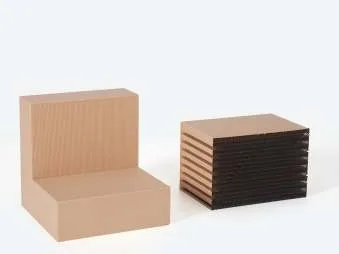
Support for PLA/PETG
- A breakaway support filament with good print compatibility, easy removal, and smooth contact surfaces.
- Designed specifically for use with PLA and PETG printing.
PVA (Water-soluble)
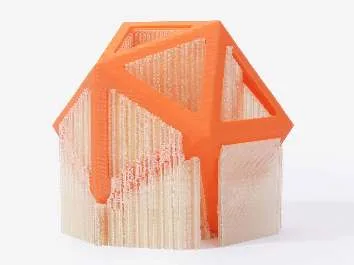
- A flexible, biodegradable polymer with strong moisture absorption. It absorbs water from the air and dissolves in water. Commonly used as a water-soluble support filament in 3D printing.
- Suitable for complex models or models where supports are difficult to remove manually.
8.2 Printing Conditions
The printer uses a fully enclosed structure with dual hotends equipped with standard hardened steel 0.4 mm nozzles. The nozzle temperature can reach up to 300 °C, and the heatbed temperature can reach up to 120 °C, supporting a wide range of filaments from basic to engineering materials.
The following lists common printing conditions for Bambu filaments. Please confirm all settings before printing to ensure stable and reliable print quality. For detailed filament parameters and printing guides, visit the Bambu Lab Wiki and search for the filament name, such as PLA.
Symbol guide
- ✓ — recommended, required, or mandatory (e.g. drying required, 0.6 mm hotend recommended).
- ○ — allowed or suggested (e.g. drying recommended, AMS compatible).
- ✗ — unsupported or incompatible (e.g. AMS incompatible, 0.2 mm hotend not supported).
| Filament | Nozzle size | Nozzle material | Main / auxiliary hotend | Temperature (℃) | Drying | AMS compatibility |
|---|---|---|---|---|---|---|
| PLA Basic | All | All | All | 190–230 | ○ | All |
| PLA Wood | ✗ 0.2 mm | All | All | 190–230 | ○ | All |
| PLA Silk / Silk+ | ✗ 0.2 mm | All | Main hotend recommended | 190–230 | ○ | All |
| PLA Aero | ✓ 0.4 mm | All | Main hotend only | 220–260 | ✓ | All |
| PETG | All | All | All | 230–260 | ✓ | All |
| TPU for AMS | ✗ 0.2 mm | ✗ High flow | Main hotend recommended | 220–240 | ✓ | All |
| TPU 95A HF | ✗ 0.2 mm | All | Main hotend only | 220–240 | ✓ | ✓ AMS HT |
| TPU 90A | ✗ 0.2 mm | ✗ High flow | Main hotend only | 200–250 | ✓ | ✓ AMS HT |
| TPU 85A | ✗ 0.2 mm, ✗ 0.4 mm | ✗ High flow | Main hotend only | 200–250 | ✓ | ✓ AMS HT |
| ABS | All | All | All | 240–280 | ○ | ✗ AMS lite |
| ASA | All | All | All | 240–280 | ○ | All |
| PC | ✗ 0.2 mm | All | All | 260–290 | ✓ | All |
| PLA-CF | ✗ 0.2 mm | ✓ Hardened steel | All | 210–240 | ○ | All |
| PETG-CF | ✗ 0.2 mm | ✓ Hardened steel | Main hotend recommended | 240–270 | ○ | ✗ AMS lite |
| ABS-GF | ✗ 0.2 mm | ✓ Hardened steel | All | 240–280 | ○ | ✗ AMS lite |
| PVA | ✗ 0.2 mm | All | All | 190–240 | ✓ | All |
| Support for PLA/PETG | All | All | All | 190–240 | ○ | All |
8.3 Filament Preparation
Filament dryness and flow settings often affect print quality. For example, damp PLA Silk is more likely to cause stringing during printing. When using third-party filament, the preset flow settings may not provide the best print results.
This section explains when drying and calibration are needed and provides step-by-step instructions. You can prepare the filament as needed.
8.3.1 Filament Drying
When stored in a non-sealed environment, some filaments absorb moisture from the air. During printing, the moisture rapidly vaporizes in the hot nozzle, causing stringing, holes, reduced part strength, and other issues.
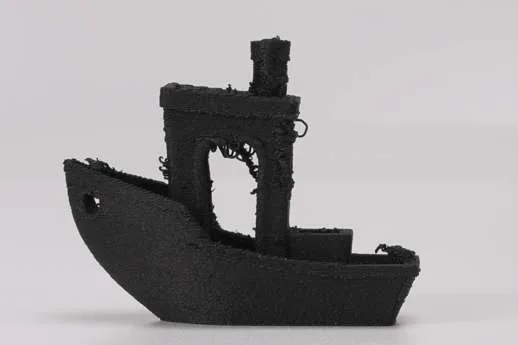
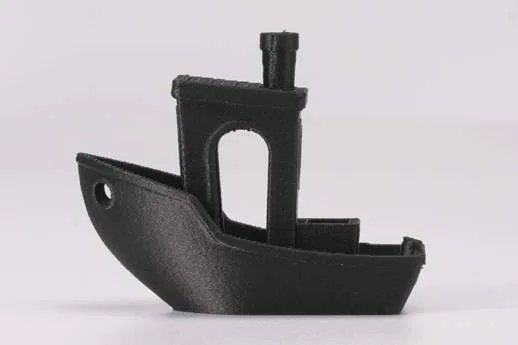
For moisture-sensitive filaments, dry the filament before printing for more stable print quality:
- PLA: PLA Wood, PLA Silk/Silk+, PLA-CF, PLA Aero.
- PETG: PETG HF, PETG Translucent, etc.
- PVA, PC, PA, TPU, and others.
- All carbon fiber / glass fiber reinforced filaments.
Drying filament with the heatbed
To dry filament using the printer’s heatbed, prepare a container, such as the original filament package box or a filament drying hood.
On the printer screen, select Toolbox › Dry Filament. Follow the on-screen instructions to complete the steps:
- Remove any debris from the build plate and the bottom of the printer chamber.
- Tap Prepare. The toolhead and heatbed will move to the preset position automatically.
- Place the filament on the build plate and cover it with the box or filament drying cover.
- Select the filament type. The printer will automatically set the heatbed temperature and drying time. You can also set them manually.
- Tap Start to begin drying.
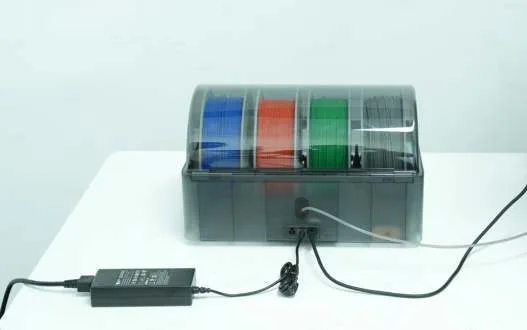
Drying filament with AMS 2 Pro / AMS HT
AMS 2 Pro and AMS HT have built-in drying modules that heat and dry filament. During drying, the spool rotates automatically for more even results. When drying filament with AMS, follow the notes and steps below:
| AMS model | Filament capacity | Max temperature |
|---|---|---|
| AMS 2 Pro | 4 | 65 °C |
| AMS HT | 1 | 85 °C |
- Connect the AMS to the printer. See the Quick Start Guide or Initial installation.
- Place the filament into the AMS slot, then close the AMS cover and locking tab.
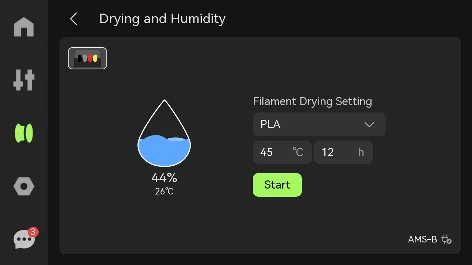
- On the printer screen, open the drying menu.
- Select the filament type. The printer automatically applies the preset drying temperature and duration. Tap Start to begin drying.
Other drying methods
You can use a forced-air dryer to dry filament, such as high-temperature filaments like PPS. Please visit the Bambu Lab Wiki and search for “filament drying guide” to find drying parameter tables for various filaments.
8.3.2 Filament Calibration
Filament calibration includes two dimensions: flow dynamics and flow rate. Visit the Bambu Lab Wiki and search for “flow dynamics calibration” and “flow rate calibration” to learn about calibration principles and detailed steps.
- Flow dynamics calibration compensates for extrusion pressure lag and improves extrusion stability, such as print quality around model corners.
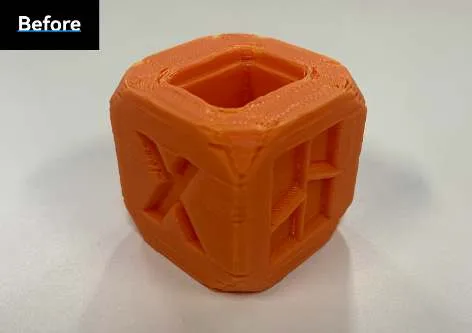
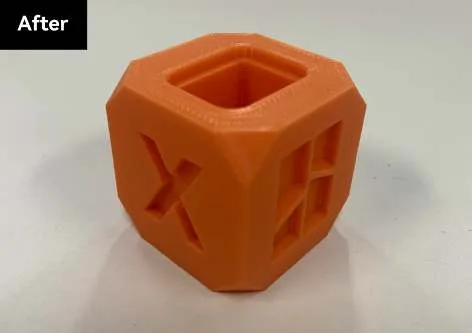
- Flow rate calibration helps reduce under-extrusion and over-extrusion, improving surface smoothness, layer adhesion, and more.
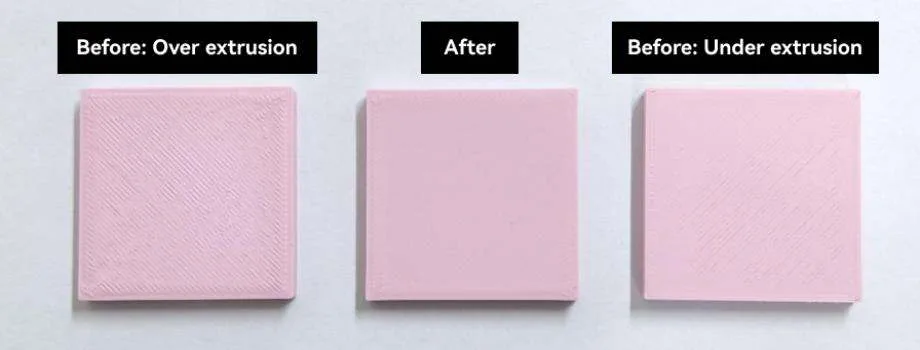
If you are using Bambu filament, you can directly apply the official preset parameters without frequent filament calibration. When changing filament brands or hotends, or encountering specific print quality issues, follow the applicable calibration scenarios and steps below.
Flow dynamics calibration
The printer supports both automatic and manual calibration. Dynamic flow calibration is recommended when using third-party filament, replacing the hotend, or changing filament settings, such as max volumetric speed or print temperature in Bambu Studio.
| Type | Stage | Platform | Method |
|---|---|---|---|
| Manual calibration | When the printer is idle | Bambu Studio only | Visually check the print quality of the test model and manually enter the corresponding coefficient. |
| Auto-calibration | When the printer is idle or starting a print job | Printer screen, Bambu Handy, and Bambu Studio | The printer automatically performs calibration and provides the recommended result. |
Calibration steps
- Calibrate when starting a print job: On the Send print job page, enable flow dynamics calibration to automatically calibrate the filament used for printing. If you cannot find this option, expand Advanced Options.
- Calibrate when the printer is idle:
- On the Calibration page in Bambu Studio, click Flow Dynamics, select Auto-Calibration or Manual Calibration.
- Select the printer preset and wait for the printer to start calibration. Then enter the filament coefficient (K) based on the recommended automatic calibration result or your visual inspection of the printed test model.
Flow rate calibration
If the preset flow rate does not match the filament, under-extrusion or over-extrusion may occur, causing poor surface quality, weak layer bonding, and other issues. However, these issues are not always caused by an incorrect flow rate. Before running flow rate calibration, first check the printer’s basic calibration items and the model structure. See Print Quality Issues and Solutions.
If these issues have been ruled out and the print defect is mainly related to a specific filament, follow the steps below:
- On the Calibration page in Bambu Studio, click Flow Rate and select Manual Calibration.
- Select the printer preset and Calibration Type. Complete Calibration is recommended for first-time use.
- Wait for the printer to start calibration, then enter the filament coefficient (K) based on the recommended automatic calibration result or your visual inspection of the test model.
8.4 Special Filament Printing Requirements
8.4.1 TPU
TPU is a flexible filament that easily absorbs moisture. It has higher requirements for storage, dryness, and loading method. TPU filaments with different hardness levels also vary in printer compatibility and loading method. Common TPU hardness levels and supported feeding methods are listed below:
| Hardness level | X2D printer | AMS compatibility | Supported loading method |
|---|---|---|---|
| 68D (TPU for AMS) High | Compatible | All | Filament buffer › Main extruder filament inlet |
| 95A Relatively high | Compatible | AMS HT (manual loading) | Main extruder filament inlet |
| 90A, 85A Medium | Compatible | AMS HT (manual loading) | Main hotend toolhead filament inlet / TPU feed assist module |
| Below 85A Low | None | None | / |
Print preparation
You can visit the Bambu Lab Wiki and search for “TPU printing guide for X2D” to get detailed instructions and illustrated guidance. The following general TPU checklist can help you prepare before printing:
| Stage | Preparation | Steps |
|---|---|---|
| Before printing | Dry the filament | Select the drying equipment and settings based on the filament type. |
| Check printer configuration | Make sure the current AMS, build plate, and hotend support TPU printing. | |
| Clean the printer |
| |
| Load filament | Confirm the loading method |
|
| Prepare a filament sealed box and spool shaft | For longer prints, place the filament in a sealed container, such as a rice storage container, and print a spool shaft holder for filament loading. | |
| Load 95A HF | Move the spool holder base to the other side, then feed the filament from the main extruder inlet as with an external spool. | |
| Load 90A / 85A | Use the top-mounted holder:
| |
| Start printing | Adjust filament parameters and model position |
|
| After printing | Unload 95A HF | Tap Unload on the touchscreen and retract the filament as prompted. |
| Unload 90A / 85A |
| |
| Store the filament | Store the filament in a sealed box with desiccant, and keep the ambient humidity below 20% RH. |
8.4.2 High-Temperature Filament
High-temperature filaments, such as ABS, ASA, PC, and nylon, offer excellent strength and heat resistance, but require higher nozzle temperatures, chamber temperatures, and better print environment control. Before printing, check the configuration and adjust the slicing settings to reduce the risk of warping, cracking, and nozzle clogging. Use the following general checklist to prepare:
| Stage | Preparation | Steps |
|---|---|---|
| Before printing | Dry the filament | Select the drying equipment and settings based on the filament type. |
| Check printer configuration | Make sure the current build plate and hotend support high-temperature filaments. Do not use the Bambu Cool Plate SuperTack. | |
| Clean the printer |
| |
| Start printing | Adjust model settings in Bambu Studio |
|
| Preheat the printer | The printer is equipped with an active chamber temperature control system and will automatically switch to heating mode. | |
| After printing | Remove the model |
|
| Post-process the model |
| |
| Future use | To use low-temperature filaments later, set the nozzle temperature to 250–300 °C and manually extrude filament to ensure smooth printing. |